Wednesday, September 21, 2011

A good day!

Hello everyone!


Well, yes, today was a really good day! and I thought I needed to blog about it!


First of, I got to hang out with 2 of my ultimate FAVORITE people...


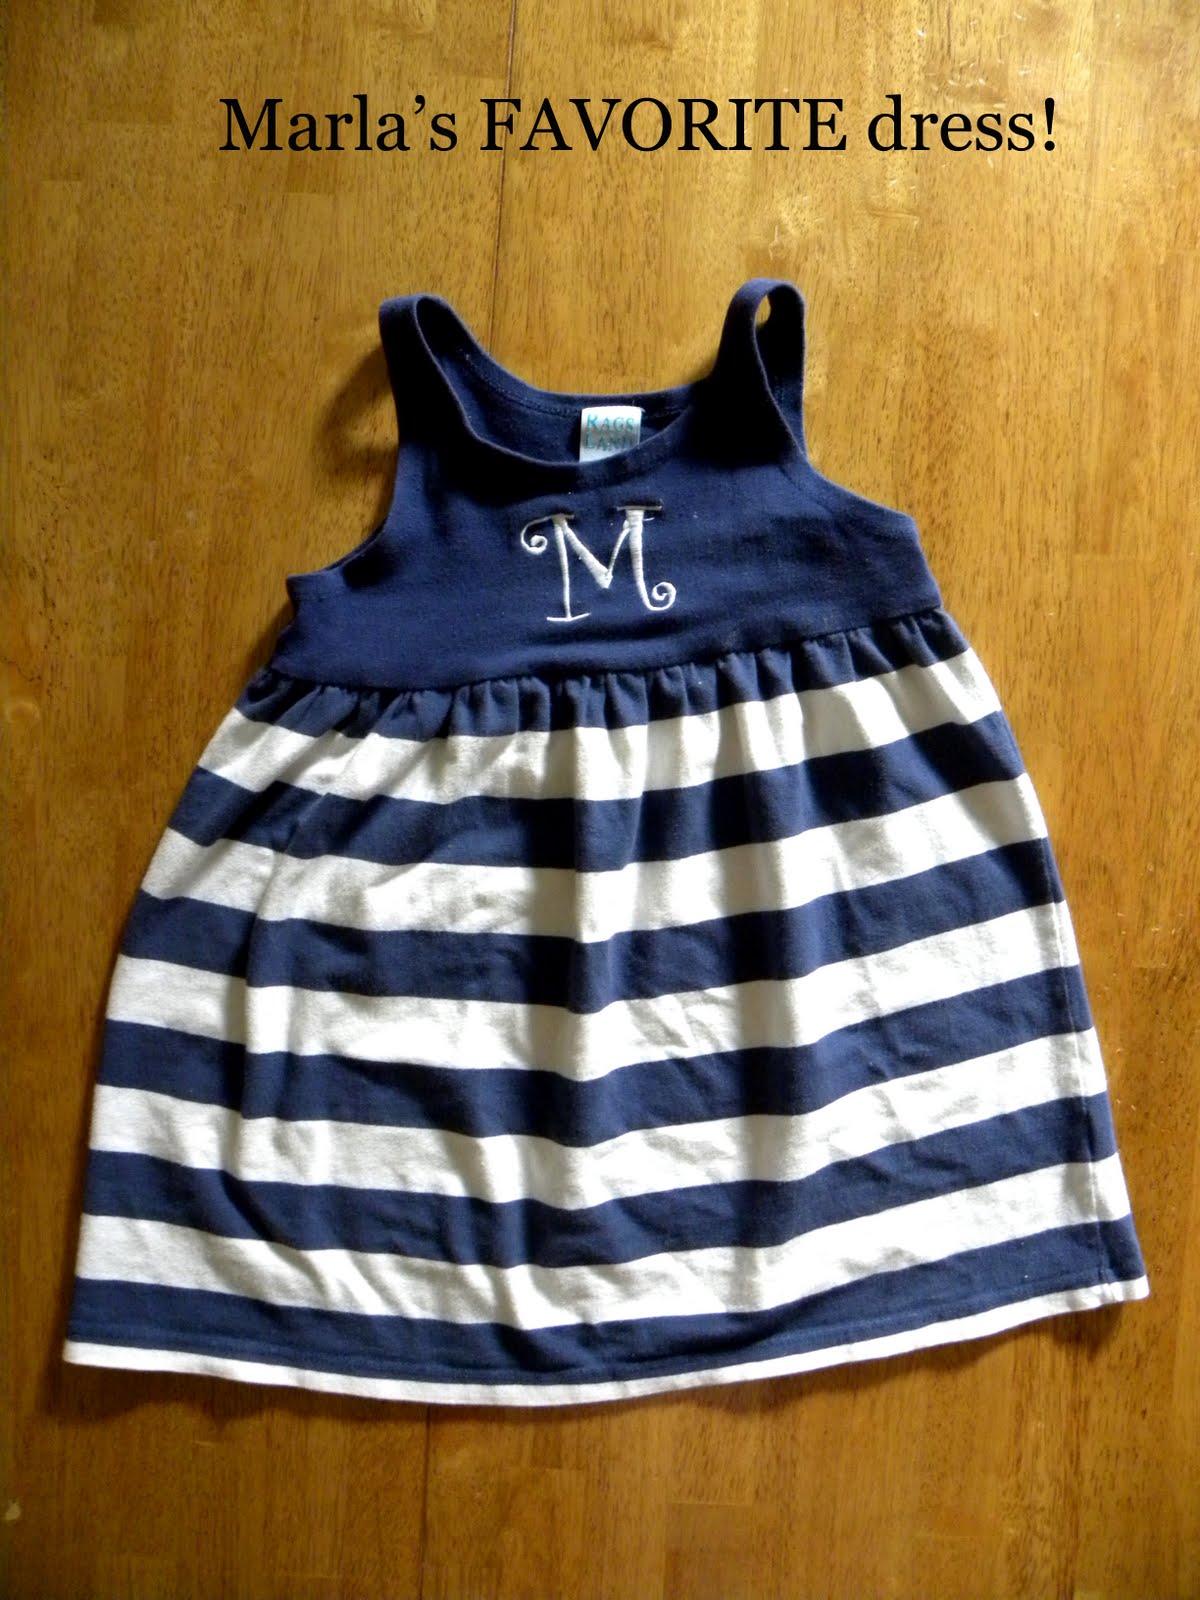
That would be my sweet Marla and my angel Max! They are too much fun and I am blessed to have them in my life and to be able to spend my days with them!

But before I got Marla from pre-school, I swung by the thrift shop.. and got myself my own little peice of the Missoni for Target collection!


That's right! Two barretts... taped, mind you... because they were in peices ; )


I just couldn't pass up... and what's a crafty girl to do????


FIX them, and make them look Missoni worthy!!!
I got to put them in my hair and feel a little more "Missoni-special" for the rest of the day! ; )

Which brings me to the rest of the day... a little sewing!!
I wanted to share one of my favorite projects... It is one that helps me to ease into sewing knit fabric with confidence. And I DO recommend for anyone to try this out! It's SO easy! You are going to love it!

This is the link to the blog
http://www.luvinthemommyhood.com/2010/10/billy-cardi-tutorial-with-katy-from-no.html

Cute, right? Well here is my version:


I made the sleeves shorter... not much of a transformation, but I enjoyed making this cardigan! Way too much fun!


And I got to use a new stitch too on my sewing machine... and to me, that's just thrilling! (I know I can be a dork sometimes!)


I wish I had made it a little wider... just to hide my post-pregnancy pudge!!! Max was 9lbs11oz, I had a BELLY, alright?! ; ) and I know it's only been 2 months, but I am working on losing it!


It was a good day! I am wiped out, but it was great! I enjoyed laughing with my children, the fellowship with my new small group at church, thrifting, sewing and sharing with yall!


Get sewing everyone! and check out No big Dill's blog!


and happy sewing everyone!


Thursday, September 15, 2011

Project Sharpie

Hello Everyone!!
So here is an easy project! I have been wanting to get some onesies monogrammed for Max and now, for the newest additions to the family my twin nieces who came to this world a week ago!!!
Welcome Miller Rose and Madden Alice! They ar the cutest twin girls I have ever seen!!!

So to welcome those two little ladies, I decided to make them a little something... and I thought they might be useful to set them apart because they do look a lot alike... they ARE twins!! ; )

To make my little Max and his twin cousins some personalized onesies, I used the new Sharpie Stained markers:


You can find those at any office supply store for under $20 a pack! The only trick about those markers is that you cannot put the clothes in the dryer. They have to be washed on cold setting and air dry! That's it!
I also got cotton onesies from Walmart.. they are great quality and SUPER cheap! and I love cheap! ; )

This is the one I made for Max:


For his, I used the blue marker which looks a lot like a denim blue almost.. I really like it!
His real name is Jean-Maxime Miller... Miller is the initial in the middle and I made it a little bigger than the other letters!

First, I got on the computer and found a font that I liked!
Print it in black, and trim a little your 8.5x11 sheet of paper.


Insert your peice of paper inside the onesie with support right under it. I used a children's book for this project.
Set it all in place and trace your letters with your Sharpies!!


looks good, right?


Way too easy and too cool of a gift!
And think about how much money you are saving... with all these colors, think about how many personalized gifts you can make for the holidays... birthdays... special occasions!..
SO many possibilities!!!!!!


And this what I made for the twins!!!!


I got Newborn size onesies for the little ladies, so I used a DVD case as my support to trace out my letters:


I recommend to outline your letters first:


Then fill the letters in with colors, and Voila:


Super cute gifts, right?


and if you want to see the endless possibilities out there, check out the Sharpie's web site, but before you do that, check out my friend Melissa's Etsy shop where she's explored the art of the "Sharpie Stained" and made really cute "trompe l'oeil" purses!

( she was my maid of honor at my wedding! I just love her!!!! and I hope you love everything she makes and sells just like I do!!!! ) Here is the link to the Amelie bag:

http://www.etsy.com/listing/70932171/the-amelie-bag-canvas-trompe-loeil-tote

But you NEED to look at the rest of her shop! She's got the wit and talent no one else has! I love it!


and here is the link to Sharpie's web page:


oh, and ENJOY!!!! Have fun creating!!!

Tuesday, September 6, 2011

Easy Peasy Thrifty Dress

Hello everyone!
So Labor Day turned into an actual labor day for me!
Marla has been wearing a dress from Ragsland I bought for her last Spring probably 3 to 4 times a week! It came down to me having to hide it if I wanted to wash it!
It now has stains and spots I can't get rid of. so it has become her stay-at-home dress!!!!

And so I thought, it's time to make her another one! So here is my take on Marla's favorite dress!!


This is the original! It's adorable and SO comfortable! It's made out of jersey knit, offering some stretch.


To make this dress, I got a yellow toddler size tee at the Thrift shop, and found 1yd of cotton fabric with pears that I thought would make the perfect fun dress to replace the "old" one!


I started by drafting the pattern I needed from the original Ragsland dress:


This process turns out to be really fun!! Here are the pattern peices I came up with. Hint: always make sure the shoulders align between front and back peices!


Then I had to figure out the measurements I needed to create the skirt. For Marla, I recreated the dress in a 5T and the skirt measurements turned out to be for each panel (one front, one back): 24" wide by 17.5" long.


To create the bodice, I cut the tee shirt on the side seams, folded it in half in the length and cut out my pattern peices on the fold line:


And these are the peices I came up with:


Pin the shoulder straps together like so:


Sew with a straight stitch accross each strap:


For the raw edges, zig-zag stitch them. The curl you end with will only help you out creating a nice hem for the following step!


With your iron, fold inward the hem you just zig-zaged/serged. Press in place:


Sew in place with a straight stitch:


Next, stitch the underarm hems together. First, with a straight stitch, second, go back through with a zig-zag stitch to block any little thread that's sticking out!


Now, let's work on the skirt of your dress. Grad your two panels that you cut earlier.


Stitch them along the sides. Then zig-zag/serge the raw edges like so:


Let's work on the bottom of your skirt first. Fold over by 1/4", press with your iron.


Fold over again at about 3/4". Iron to press into place. Pin and sew.


Stitch all around.

I sewed my hem twice so make it look a bit more "industrial!" This is what I did:


Time to gather the top of your skirt so we can attach it to the bodice. For this step, I set the tension at its tightest and the length of the stitch at the longest! I then stitched all around the top of the skirt. Once you pull on the thread, you should get this:


It's now time to place the bodice to the gathered skirt.


Turn your skirt inside out. Turn your bodice upside down with right side facing you, and insert into skirt. Pin into place starting with the sides and then working the rest of the skirt so that the "gatherness" is spread out fairly equally throughout:


Straight stitch. Then go through again and zig-zag/serge the loose threads.


Turn your dress outside out and admire your work! You are done!!!! It's officially your Tah-Dah moment!


You can add your personal touch too if want to....


and with the help of some heat and bound, you can add a little something extra...

(by the way, the heat and bound is my favorite toy to play with right now!!!! ; ) Admire my pretty pear! I think it adds a little something, doesn't it?


I really think it does!!!! I love it!


Hope you love it too and have a blast making one of those too?! : )


Happy Sewing everyone!!!!